Gas Turbine Engine High Pressure Compressor

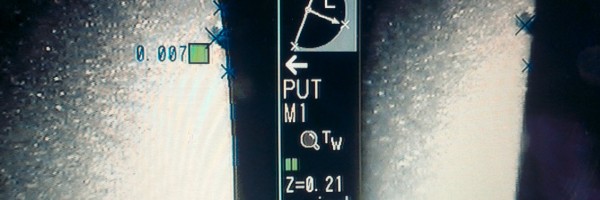
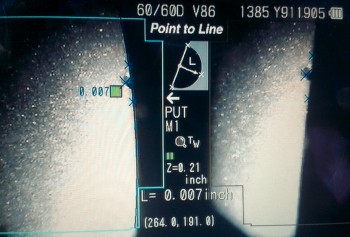
The picture illustrates the digital measurement of a small nick in a gas turbine compressor blade. This measurement was taken using a digital video borescope with stereo measurement capabilities. The measurement system employed is called Point to Line where a reference line is plotted down a reference surface in this case the leading edge of the blade and a perpendicular line is plotted from the reference line to the bottom of the defect. This defect is measured at 0.007 inches or 0.178 millimetres. The measurement was taken at .210 inches or 5.3 millimetres from the defect.

« Boiler Steam Tube with a Crack in its Wall (Previous Post)
(Next Post) Trial using a Wearable Vufine Display »

 D5 Creation
Comments are Closed